
What's on this page
- Before you start
- Step 1: Count the cold storage you actually hold
- Step 2: Decide cooler, freezer, or both
- Step 3: Pick the footprint and the door placement
- Step 4: Plan the shelving and the walk lane
- Step 5: Decide indoor or outdoor
- Step 6: Size the refrigeration system to the box
- How ceiling height changes the footprint
- Step 7: Match the box to your setting
- Illustrative usable storage by setting
- Where a walk-in’s interior volume goes
- Small walk-in coolers for a home, garage, or hunting camp
- Walk-in coolers for a convenience store
- Outdoor walk-in coolers: what changes
- A worked example: sizing a convenience-store walk-in
- A second worked example: a small restaurant
- Common mistakes when sizing a walk-in cooler
- Troubleshooting: the box feels wrong after install
- Your walk-in cooler sizing checklist
- The bottom line
Short answer: Size a walk-in cooler in seven steps: count the cold storage you hold between deliveries, decide cooler, freezer, or both, pick the footprint and door placement, plan the shelving and the walk lane, decide indoor or outdoor, size the refrigeration system to the box, and match the final size to your setting, whether that is a convenience store, a small restaurant, or a home garage. Illustratively, usable storage runs to about three quarters of a walk-in's interior volume once shelving and clearance are subtracted, so the box needs to run meaningfully larger than the raw cubic footage of product you plan to hold.
Sizing a walk-in cooler goes wrong most often in one direction: an operator picks a footprint off a floor plan or a catalog page before counting what actually needs to sit inside it, and ends up with a box that is either cramped within a year of opening or a cold, half-empty room that costs real money to run every single day. The fix is to work the problem in order, from the product you hold outward to the box, rather than backward from a size that looked reasonable on paper.
This walkthrough sizes a walk-in cooler in seven steps: counting the cold storage you actually hold, deciding between a cooler, a freezer, or both, picking the footprint and the door placement, planning the shelving and the aisle, deciding indoor versus outdoor, sizing the refrigeration system to the finished box, and matching the result to your setting, whether that is a full-service restaurant, a convenience store, or a small box for a home garage. For the dollars behind the decision, our commercial refrigerator cost case study prices walk-in coolers by size, and if a used box is on the table, our buying guide for a used walk-in cooler covers what to check before you commit. Run your own numbers as you read with the equipment ROI calculator.
Key takeaways
- Size from the product outward: count the cold storage you hold between deliveries, add a buffer for prep and par stock, then size the box, not the other way around.
- Illustratively, usable storage runs to about three quarters of a walk-in's interior volume once shelving depth, the walk aisle, and condenser clearance are subtracted.
- Shelving is wire, not solid, so cold air can circulate, and the layout needs a clear aisle plus a gap under the evaporator fan so cold air actually reaches the product.
- Outdoor walk-ins need weatherproofing and a wider refrigeration margin for seasonal temperature swings that an indoor box never faces.
- A convenience store, a home garage, and a full-service restaurant all use the same sizing method; only the inputs, how much product and how often it is restocked, change the answer.
Before you start
Before you size anything, gather three things. The first is a real count, even a rough one, of how much product you hold cold at once between deliveries: walk your current storage, or sketch your opening order, and estimate it in boxes, cases, or cubic feet rather than guessing a round number. The second is your delivery frequency, because a kitchen that restocks daily needs far less standing cold storage than one that restocks twice a week. The third is the physical space you have to work with: measured dimensions, the location of a door or loading area, and whether the box will sit indoors or has to go outside.
Here is what to have in hand before step one:
- A rough inventory count of what you hold cold at once, in boxes, cases, or an estimated cubic footage.
- Your delivery schedule, since restocking twice a week needs meaningfully more standing storage than restocking daily.
- Measured dimensions of the space, including ceiling height, the nearest door or dock, and any obstruction a box would have to clear.
- A decision on indoor versus outdoor, at least a tentative one, since it changes the construction spec and the refrigeration sizing.
Difficulty here is moderate: the math is straightforward arithmetic, and the harder part is being honest about your actual volume rather than sizing to an ambition. A full sizing exercise, from a rough inventory count to a confirmed footprint with an installer, typically takes a few days to a couple of weeks, most of it spent getting a site visit scheduled. With your inventory count, your delivery schedule, and your space in hand, the seven steps below turn a guess into a number you can order against.
Step 1: Count the cold storage you actually hold
Start with what you actually hold cold at any one time, not what you imagine you might someday need. Walk an existing kitchen’s cold storage and count it in boxes or cases, or if you are planning a new concept, build the count from your opening order and your par levels. Translate that into a rough cubic footage: a standard case of product occupies a fairly predictable volume, and stacking a realistic count of cases gives you a usable starting number far more honest than a guess at square footage.
Add a buffer on top of that raw count for prep staging, for par stock you keep as insurance against a late delivery, and for the fact that product never packs perfectly flush against shelving. Illustratively, a buffer in the neighborhood of a quarter to a third on top of the raw product count is a reasonable planning shape for most operations, though a business with an unpredictable delivery schedule may want to lean toward the higher end. This buffered number, not the raw product count, is the cold storage figure that feeds every step after this one.
Step 2: Decide cooler, freezer, or both
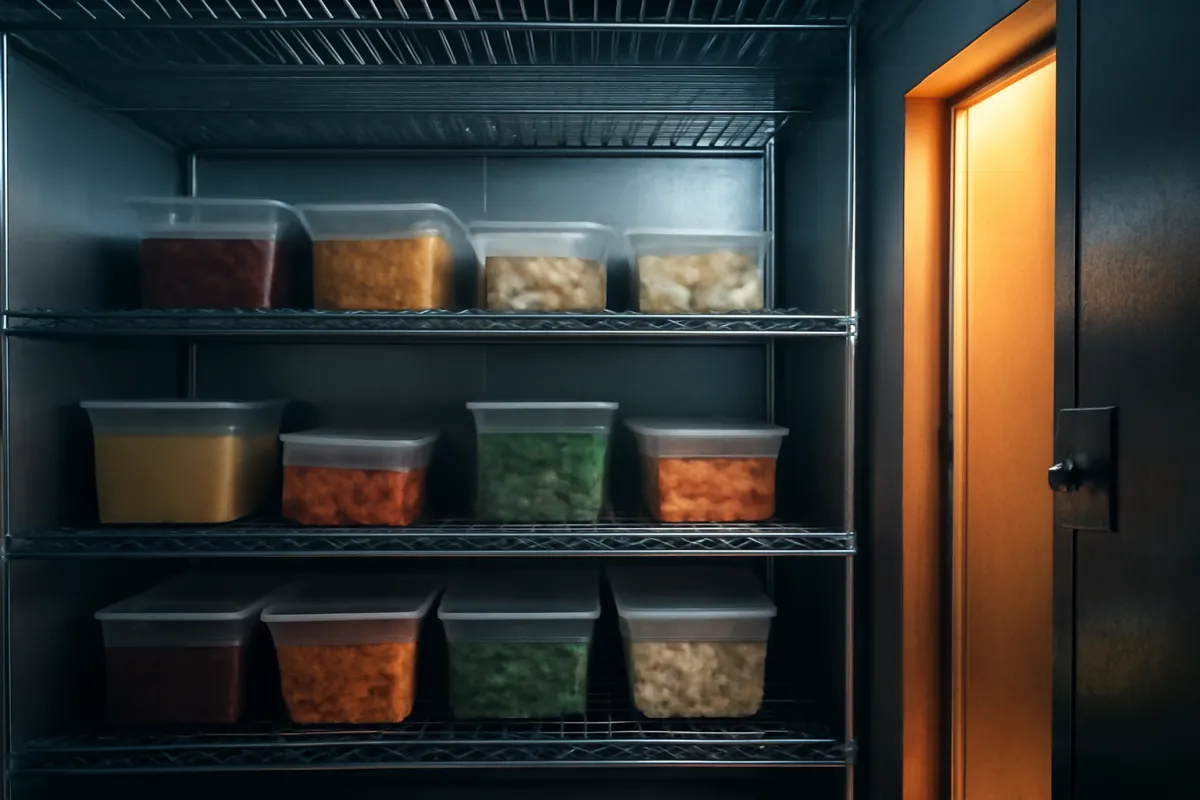
Before sizing the box, decide what temperature zone it needs to hold, because a cooler and a freezer are built and sized differently even at the same footprint. A walk-in cooler holds fresh product in the mid-thirties to low forties Fahrenheit range; a walk-in freezer holds well below freezing for frozen inventory, and it needs thicker insulation, a heated door frame, and a harder-working refrigeration system to get there. Many operations need both, in which case the honest move is usually two separate boxes or a single box split into a cooler side and a freezer side with its own door and its own refrigeration zone, rather than trying to make one box do both jobs.
If you are unsure how much of your inventory is frozen versus fresh, go back to your Step 1 count and split it by temperature. A kitchen that is almost entirely fresh product with only modest frozen needs may be well served by a walk-in cooler plus a stand-alone reach-in freezer rather than building a second walk-in. Our commercial freezer cost case study prices the freezer side of this decision, including the walk-in freezer build, if that split points you toward needing one.
Step 3: Pick the footprint and the door placement
With a buffered cubic footage in hand, the next step is translating it into a footprint: a width, a depth, and a ceiling height. Most commercial walk-ins run at a standard ceiling height, commonly around 7 to 8 feet, so the width and depth of the floor plan do most of the work of hitting your target interior volume. A roughly square footprint is usually the most space-efficient shape for a given volume, though a narrow, deep footprint can be the only option that fits an awkward kitchen, at some cost to how easily you can walk product all the way to the back.
Door placement matters as much as the footprint itself. Put the door on the wall that gives the shortest, clearest path from the receiving area to the box, because every delivery will take that path for years. Confirm the door’s swing clears any rack, cart, or piece of equipment nearby, and if the kitchen layout allows it, a door placed so the swing does not block a walkway during deliveries saves real friction on a busy morning. A box that is perfectly sized in cubic feet but awkwardly placed still earns daily complaints from the people restocking it.
Step 4: Plan the shelving and the walk lane
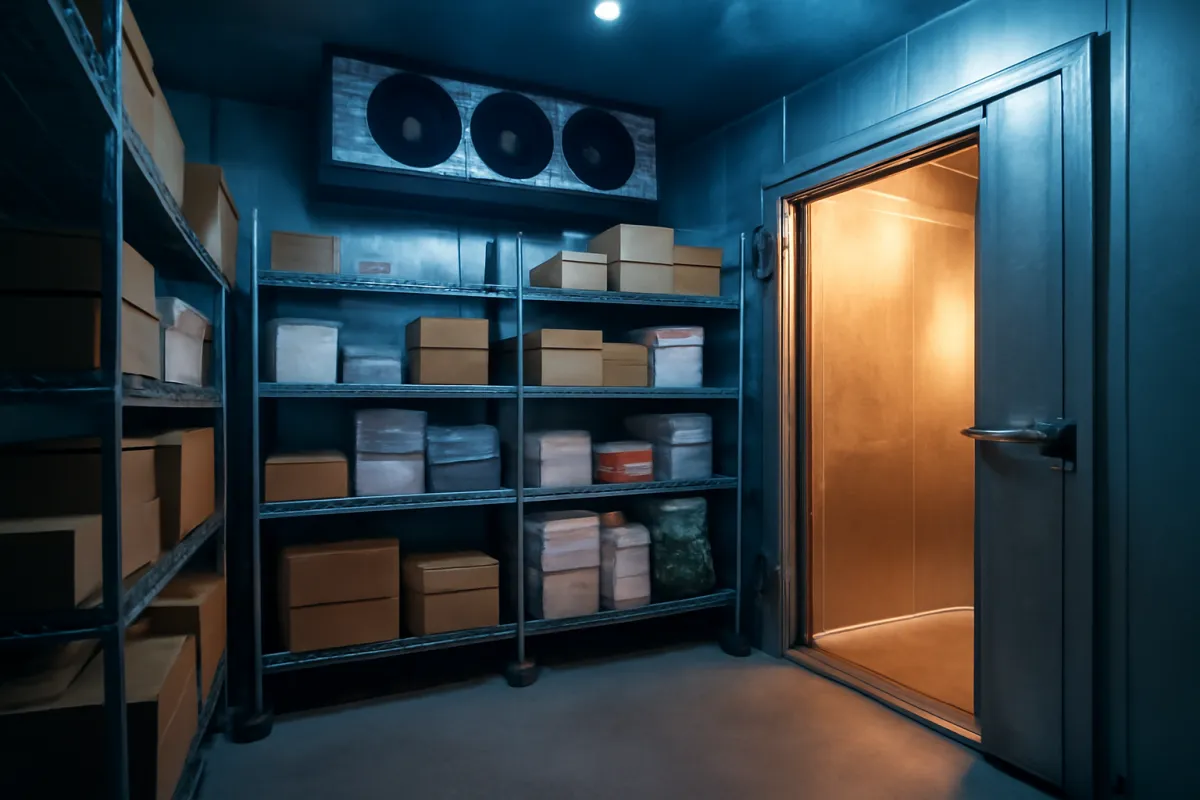
Shelving eats more of a walk-in’s interior volume than most first-time buyers expect, which is exactly why the sizing math in this walkthrough builds in a buffer for it. Wire shelving is the standard, not solid shelving, because wire lets cold air circulate freely around stored product instead of pooling against a flat surface, and it is the type most walk-in suppliers fit as standard. Plan shelving along two or three walls, leaving the wall nearest the evaporator fan clearer so cold air has room to sweep across the box rather than dumping directly onto a stack of product.
Down the middle, or along whichever side is left open, plan a walk aisle wide enough to carry a case or a tray without turning sideways, since a too-narrow aisle is one of the most common regrets reported after installation. Keep the bottom shelf off the floor for both airflow and sanitation, and leave visible headroom between the top shelf and the ceiling so cold air moving off the evaporator reaches every shelf rather than stacking heat near the ceiling where the top shelf sits warmer than the rest of the box.
Step 5: Decide indoor or outdoor
Where the box sits changes the spec meaningfully. An indoor walk-in sits in a conditioned space at a fairly stable ambient temperature, which keeps the refrigeration system’s job predictable year round. An outdoor walk-in cooler faces a much wider swing: a hot summer afternoon pushes far more heat into the box than a mild spring day does, so an outdoor unit needs a refrigeration system sized with more margin, plus a weatherproofed roof system and insulated, weather-rated lines running to a remote condensing unit, commonly mounted on a pad beside the box or on a roof curb above it.
Outdoor placement often solves a real space problem, since many kitchens simply do not have an indoor footprint large enough for the box a growing menu needs, and an exterior wall with a short line run to a condenser can be the only practical answer. The tradeoff is a higher install cost for the weatherproofing and the remote condenser setup, and a refrigeration system sized for the hottest day of the year rather than the kitchen’s average indoor temperature. Confirm with your installer that any unit quoted for an outdoor placement is actually rated for it, since an indoor-spec box placed outside is a reliability problem waiting to happen.
Step 6: Size the refrigeration system to the box
Once the footprint is set, the refrigeration system has to be sized to it, not estimated from a nameplate on a similar-looking unit. The key inputs an installer uses are the interior volume, the temperature zone (cooler versus freezer), how often and how long the door is expected to open during a shift, the ambient temperature around the box, and whether that ambient temperature is a stable indoor kitchen or a swinging outdoor exposure. A system sized too small struggles to hold temperature during a busy service and runs constantly trying to catch up; a system sized too large cycles on and off more than it should, which wastes energy and adds wear without buying any extra cooling benefit.
This is the step worth paying a refrigeration contractor to run properly rather than estimating yourself, because an undersized system is a food-safety risk and an oversized one is a recurring energy cost for the life of the box. Bring your Step 1 cubic footage, your Step 5 indoor or outdoor decision, and a rough sense of how busy the door traffic will be, and let the contractor’s load calculation set the actual compressor and evaporator sizing rather than a rule of thumb.
How ceiling height changes the footprint
The same interior volume can be built at different ceiling heights, and the choice moves the floor footprint directly. A taller box, commonly 9 feet or more in a larger commercial build, holds the same cubic footage in a smaller floor footprint, which can be the deciding factor in a tight kitchen where floor space is scarcer than overhead clearance. A shorter box, closer to 7 feet, needs a larger floor footprint to hold the same volume, but it is cheaper to build and easier to reach the top shelf without a step stool.
There are practical limits either way. A very tall walk-in wastes energy cooling headroom nobody uses if shelving cannot reach it, and a very short one can feel cramped for staff working inside it for any length of time. Illustratively, a standard 8-foot ceiling is the most common commercial choice because it balances footprint efficiency against build cost and usability, and it is the height assumed in the worked example and the companion beside this walkthrough unless you change it. If your kitchen has unusual ceiling constraints in either direction, run the footprint at your actual height rather than assuming the standard figure applies.
Step 7: Match the box to your setting
The six steps above apply the same way to every setting; what changes is the input. A small restaurant or a cafe commonly lands on a compact walk-in, often in a footprint from roughly 6 by 8 feet up to 8 by 10 feet, sized to a modest menu and a delivery schedule that restocks a few times a week. A convenience store, restocking more frequently from a smaller core product list, can often run similarly compact or slightly smaller, while a full-service restaurant with a broader menu, bulk deliveries, and a banquet or catering arm commonly needs something closer to 10 by 12 feet or larger to hold the volume comfortably.
A home garage, basement, or hunting camp installation sits at the small end of the range entirely, sometimes starting around a 4 by 6 foot footprint for a compact prefabricated unit, with the same sizing logic scaled down: count what you want to hold cold at once, add a buffer, and size to that rather than to the largest box that fits the available space. Whatever the setting, the seven steps run in the same order, and the companion beside this walkthrough turns your own numbers into a planning footprint you can take to an installer.
Illustrative usable storage by setting
Illustrative usable storage by setting
Typical usable cold storage, in cubic feet, for a walk-in sized to each setting. Shape, not a spec.
A full-service restaurant's walk-in commonly holds roughly six and a half times the usable volume of a compact home or camp box, illustratively, and the gap is delivery frequency and menu breadth, not a different kind of box.
The pattern across settings is continuous rather than stepped: there is no hard line between a convenience-store box and a small-restaurant box, only a sliding scale driven by how much product moves through the door and how often a truck shows up. Use the chart as a sanity check on your own Step 1 count, not as a lookup table, since a convenience store with an unusually broad frozen and fresh program can easily need more than the illustrative figure shown here.
Where a walk-in’s interior volume goes
Where a walk-in's interior volume goes
Illustrative share of a walk-in's interior cubic footage, by use. Shape, not a spec for any single box.
Illustratively, about a quarter of a walk-in's interior volume is lost to shelving depth, the walk aisle, and clearance around the door and the condensing unit, which is exactly why the box needs to run larger than the raw product count from Step 1.
This is the single number behind the sizing math in this walkthrough: if usable storage is roughly three quarters of interior volume, then a box needs to hold about a third more interior volume than the buffered product count from Step 1 to actually deliver that product count in usable space. Skip this adjustment and the most common sizing complaint follows almost immediately, a box that looked right on paper and felt cramped within the first few months.
Small walk-in coolers for a home, garage, or hunting camp
A walk-in refrigerator for a home is a smaller version of the same product, not a different category, and it serves buyers who want far more standing cold storage than a kitchen refrigerator or a chest freezer can offer: a hunting camp processing and holding game, a home bar or entertaining space, or simply a household that buys and stores food in bulk. Compact prefabricated units exist in sizes well below the commercial norm, with some starting around a 4 by 6 foot footprint, and they are sized with the same method as a commercial box: count what you actually want to hold cold at once, add headroom, and size to that.
The practical differences for a home installation are less about the box and more about the site. A dedicated electrical circuit, a level and load-bearing floor, and clearance for the condensing unit all still apply, and a residential buyer sometimes underestimates how much the electrical and structural side of the install adds to a compact box’s total cost. Confirm local permitting requirements before ordering, since a residential walk-in can still trigger building or electrical permits depending on the jurisdiction, the same caution that applies on the commercial side.
Walk-in coolers for a convenience store
A convenience store’s walk-in cooler usually carries a dense, narrow product mix: beverages, dairy, and a handful of grab-and-go categories, often restocked frequently rather than held in deep bulk. That frequent restocking is exactly why a convenience store can often run a smaller box than its square footage might suggest, since the sizing driver is standing volume between deliveries, not total annual throughput. A store restocking daily from a nearby distributor needs meaningfully less standing cold storage than one restocking twice a week from a longer supply chain.
Door placement deserves extra attention in a convenience-store layout, because the walk-in door frequently sits close to a public-facing cooler section, customer traffic, or a tight back room shared with other storage. Confirm the door swing does not interfere with a walkway customers or staff use during a restock, and if the store also sells grab-and-go cold beverages from a glass-door merchandiser up front, remember that unit is separate from, and additional to, the walk-in sizing covered in this walkthrough.
Outdoor walk-in coolers: what changes
An outdoor walk-in cooler earns its place when the indoor footprint simply is not available, which is common in a converted retail space, a tight urban kitchen, or a site where adding square footage indoors is not an option. The box itself is built the same way, but the roof and panel system need to be weatherproofed against sun and rain, and the refrigeration system commonly runs with a remote condensing unit mounted on an exterior pad or a roof curb rather than a self-contained top-mount unit sitting directly on the box.
The sizing math in this walkthrough still applies for the interior volume, but the refrigeration load calculation in Step 6 needs to account for a wider swing in ambient temperature across the seasons, since a box baking in direct sun on a summer afternoon fights a much larger heat load than the same box would indoors. Confirm with your contractor that both the box and the refrigeration system quoted are rated for outdoor use, and budget for the weatherproofing and the remote condenser line run as real, site-specific costs rather than an afterthought on top of the box price.
A worked example: sizing a convenience-store walk-in
Put the seven steps on one illustrative example. A convenience store holds roughly 150 cubic feet of beverages, dairy, and grab-and-go product between twice-weekly deliveries, from Step 1’s count. The owner adds a 30 percent buffer for par stock and the unevenness of real product packing, bringing the buffered figure to about 195 cubic feet. Because roughly a quarter of a walk-in’s interior volume goes to shelving, the aisle, and clearance, the box itself needs to hold around 260 cubic feet of interior volume to deliver that 195 cubic feet of usable storage.
At a standard 8-foot ceiling, 260 cubic feet of interior volume works out to roughly 32 square feet of footprint, in the neighborhood of a 6 by 5 to 6 by 6 foot box once a practical, buildable shape is chosen. The owner places the door on the wall closest to the receiving entrance, plans wire shelving along two walls with a clear center aisle, and decides the box fits indoors in the existing stockroom, so Step 5’s outdoor adjustment does not apply. The contractor’s load calculation in Step 6 then sizes the condensing unit to that confirmed 260 cubic foot interior at indoor ambient conditions. Run your own numbers through the companion beside this walkthrough to see the same math applied to your product count.
A second worked example: a small restaurant
Run the same seven steps on a different setting to see how the inputs, not the method, change the answer. A small full-service restaurant holds roughly 220 cubic feet of produce, dairy, proteins, and prepped product between deliveries that arrive three times a week, a larger Step 1 count than the convenience store above because the menu is broader and the delivery schedule is looser. The owner adds a 25 percent buffer for prep staging and par stock, a touch lower than the convenience-store example because the restaurant’s kitchen holds less unpredictable swing in daily volume, bringing the buffered figure to about 275 cubic feet.
Dividing by the same 0.75 usable-storage share from the chart above, the box needs roughly 367 cubic feet of interior volume. At a 9-foot ceiling, chosen because the kitchen has the overhead clearance and floor space is tighter than headroom, that works out to about 41 square feet of footprint, in the range of a 6 by 7 foot box. The owner plans the door against the receiving hallway, lays out wire shelving along three walls because the deeper footprint supports it, and leaves the aisle running front to back so a loaded tray never has to turn a corner. The refrigeration contractor’s load calculation in Step 6 then sizes the condensing unit to the confirmed 367 cubic foot interior at indoor ambient conditions, the same process as the convenience-store example, just run against larger numbers.
The lesson from running both examples side by side is that the seven steps never change; only the inputs, the Step 1 count, the buffer percentage, and the ceiling height, move the final footprint. Put your own figures through the companion beside this walkthrough and the same arithmetic produces a planning number specific to your kitchen rather than either illustrative example above.
Common mistakes when sizing a walk-in cooler
A handful of mistakes account for most of the sizing regrets operators report after a walk-in is already built.
- Sizing to the room, not the product. Picking a footprint because it fits an available corner, rather than counting what actually needs to go inside, is the single most common error. The room dictates a ceiling, not a volume.
- Forgetting the shelving and aisle loss. A box sized exactly to the raw product count, with no allowance for shelving depth and a walk aisle, runs cramped from day one.
- Undersizing the door swing. A door that cannot fully open because of a rack or a piece of equipment nearby turns every delivery into an awkward maneuver for years.
- Treating outdoor and indoor units as interchangeable. An indoor-spec box or refrigeration system placed outside without the proper weatherproofing and load margin is a reliability problem waiting to happen.
- Skipping the professional load calculation. Estimating the refrigeration system size from a similar-looking unit elsewhere, instead of a proper calculation against your actual interior volume and conditions, risks both an undersized system and a wasteful oversized one.
- Ignoring future growth entirely. Sizing exactly to today’s volume with zero headroom guarantees an uncomfortable conversation about a second box within a year or two of real growth.
None of these mean sizing a walk-in is difficult; each one means slow down at the step where it happens and check the number against the real space and the real product count, not an assumption.
Troubleshooting: the box feels wrong after install
What if the finished walk-in feels cramped almost immediately? Go back to Step 1 and check whether the original count underestimated actual volume, or whether Step 4’s shelving and aisle allowance was skipped in the original plan. A box that is genuinely undersized for current volume, not just awkwardly organized, usually needs either a reorganization of the shelving plan or, in a growing business, a frank conversation about a second box sooner than planned.
What if the box holds temperature but the energy bill is higher than expected? Revisit Step 6: an oversized refrigeration system cycling on and off more than necessary wastes energy without adding cooling benefit, and a system installed without the proper load calculation is a common cause. A service visit to check the compressor’s actual run time against the box’s size can confirm whether the system is a mismatch worth correcting.
What if the door is hard to use during a busy delivery? This usually traces to Step 3’s door placement, either a swing that nearly contacts a rack or a piece of equipment, or a location that puts the door in the path of a walkway at the worst possible time. A door placement issue discovered after construction is expensive to fix, which is exactly why Step 3 asks you to confirm clearance against the real, furnished space before the order is placed, not just the empty floor plan.
Your walk-in cooler sizing checklist
Run your plan past these checks before you order a box.
- Count the real cold storage you hold between deliveries, in boxes, cases, or cubic feet, and add a buffer for prep and par stock.
- Decide cooler, freezer, or both based on how much of your inventory is fresh versus frozen.
- Translate the buffered count into a footprint at your planned ceiling height, and pick a door location with a clear swing and a short path from receiving.
- Plan wire shelving along two or three walls with a clear walk aisle and headroom near the evaporator fan.
- Decide indoor or outdoor, and if outdoor, confirm weatherproofing and a remote condenser plan with your installer.
- Get a proper refrigeration load calculation against your actual interior volume and conditions rather than estimating from a similar unit.
- Build in headroom for growth rather than sizing exactly to today's volume with nothing left over.
Put your own cold storage count into the equipment ROI calculator to turn today’s numbers into a planning footprint, then confirm the finished spec with an installer against your actual space.
The bottom line
Sizing a walk-in cooler is a straightforward sequence once you work it from the product outward rather than backward from a floor plan: count what you actually hold cold, decide cooler versus freezer, pick the footprint and the door, plan the shelving and the aisle, decide indoor or outdoor, size the refrigeration system properly, and match the result to your setting, whether that is a convenience store, a restaurant, or a home garage. Do that, and the box that gets built is sized to the business you actually run rather than to a guess that looked reasonable on a drawing.
The operators who size a walk-in well treat it as a counting exercise first and a construction project second. They know their real cold storage volume, they build in the buffer that shelving and an aisle quietly consume, they confirm the door swing against the furnished space rather than the empty one, and they let a proper load calculation, not a guess, set the refrigeration system. Do that once, and the box fits the business for years rather than becoming the thing everyone complains is either too small or oddly laid out.
Written for the operator planning a box, not for anyone selling one: this walkthrough is educational material, not engineering, construction, or legal advice, and it endorses no specific manufacturer, installer, or model. Every cubic footage, buffer percentage, and footprint here is an illustrative planning shape built to show how the sizing steps fit together, and your actual walk-in should be sized by a refrigeration contractor against your real inventory, delivery schedule, and site conditions. Building, electrical, and health-department requirements for a walk-in installation vary by jurisdiction and are not covered here. Confirm the final footprint, the door placement, and the refrigeration sizing with a licensed installer before you order.
Frequently asked questions
How do I size a walk-in cooler?
Start by counting the cubic feet of product you actually hold between deliveries, add a buffer for prep and par stock, then add room for shelving depth, an aisle to walk down, and clearance around the door and the condensing unit. Illustratively, a walk-in's usable storage runs to roughly three quarters of its interior volume once shelving and clearance are subtracted, so size the box about a third larger than the raw cubic footage of product you expect to hold. Confirm the final footprint with an installer against the actual space and your delivery schedule rather than a rule of thumb alone.
What size walk-in cooler do I need for a small restaurant or convenience store?
Illustratively, a small cafe or a convenience store commonly fits a compact walk-in in the range of a 6 by 8 foot footprint to an 8 by 10 foot footprint, while a full-service restaurant with a broader menu and bulk deliveries often needs something closer to 10 by 12 feet or larger. The honest answer is that the right size depends on how much cold product you hold between deliveries and how often a truck arrives, not on the format of the business alone. A convenience store that restocks daily can run smaller than one that restocks twice a week.
Can I get a small walk-in cooler for home use?
Yes, compact prefabricated walk-in coolers scaled for a garage, a basement, a hunting camp, or a home bar exist and are sold in sizes well below the commercial norm, sometimes starting around a 4 by 6 foot footprint. The sizing logic is the same as a commercial box: count what you actually want to hold cold at once, add headroom for shelving and airflow, and size to that rather than to the biggest unit that fits the space. A home installation still needs a dedicated electrical circuit, a level floor, and clearance for the condensing unit, so plan those the same way a commercial buyer would.
How should I lay out walk-in cooler shelves?
Wire shelving is the standard because it lets cold air circulate around stored product rather than trapping it against a solid surface, and the usual layout runs shelving along two or three walls with a clear aisle down the middle wide enough to carry a case or a tray without squeezing past. Keep the bottom shelf off the floor, leave a visible air gap between the top shelf and the ceiling-mounted evaporator so the cold air actually reaches the product below, and leave a gap between shelving and the evaporator fan rather than stacking product in its direct path. Heavier, frequently moved items belong at a comfortable carrying height, not on the floor or the top shelf.
Can a walk-in cooler go outdoors?
Yes, an outdoor walk-in cooler is a common configuration, usually with a remote condensing unit mounted on a pad or a roof curb rather than sitting on top of the box, and it needs weatherproofing the indoor version does not: a sealed roof system, sun and rain protection for the panels, and insulated, weather-rated refrigerant lines run between the box and the condenser. An outdoor box also faces a wider swing in ambient temperature across the seasons, which the refrigeration system has to be sized to handle rather than the stable indoor kitchen temperature an indoor walk-in sits in. Confirm the outdoor-rated spec with your installer rather than assuming an indoor unit can simply be placed outside.
How much clearance does a walk-in cooler need around it?
Plan clearance on three fronts: the door needs room to swing fully open without hitting a wall, a rack, or another piece of equipment, the condensing unit (whether mounted on top, remote on a pad, or on a roof curb) needs the airflow clearance its manufacturer specifies to reject heat properly, and the interior needs an aisle wide enough to walk product in and out without turning sideways. Skimping on any of the three is a common installation regret, because a door that cannot fully open or a condenser starved of airflow both cost real money to fix after the box is built. Measure the actual space, including furniture and racking you plan to add later, before the order is placed.
What is the difference between a walk-in cooler and a walk-in freezer?
A walk-in cooler holds product in the mid-thirties to low forties Fahrenheit range for fresh storage, while a walk-in freezer holds well below freezing for frozen storage, and that temperature gap drives real differences in the build: a freezer needs thicker insulation, a heated door frame to stop the gasket icing shut, and a more powerful, harder-working refrigeration system. Sizing logic is similar between the two, count what you hold, add a buffer, and account for shelving and clearance, but a freezer of the same footprint commonly costs more to buy and more to run. Our commercial freezer cost case study prices the freezer side of this decision in full.
Do I need a walk-in cooler, or would reach-ins cover it?
The deciding question is not price but cost per cubic foot of storage once your volume is large enough to fill it: a row of reach-in refrigerators wins on simplicity and a lower sticker for a small operation, while a walk-in wins on storage density and energy cost per cubic foot once deliveries and par levels push past what a reach-in or two can comfortably hold. A useful rough test is whether you are restocking reach-ins multiple times a week from an overflow of boxed and bagged product with nowhere dedicated to put it; if so, the math usually favors a walk-in. Our commercial refrigerator cost case study runs the reach-in versus walk-in cost comparison in depth.